The step-by-step guide on how to install a second SSD or HDD on your laptop by removing the DVD writer (7 Easy Steps)
July 15, 2021 By Richcom Technology –4 Min Read
The technology is advancing, and companies are adding many new features to every newer computer model. While some of the features are not that functional or practical for most users, one of them is. It is the presence of multiple storage devices inside the computers.
Having this feature means double storage space on your computer that you can use for faster or more storage. However, if we move a little back, it was not a feature present in most laptops. DVD writer was a necessary component those days.
Now there is rarely a need to use a DVD writer. You can add the feature of dual storage devices by getting rid of the DVD writer. All of this can be done at home. So, the following are the steps you need to follow to insert a second SSD or HDD into your old computer.
The Lexar SATA SSD is a great choice if you are looking to change the booting drive of your laptop from HDD to SSD. It comes in different storage options and provides blazing fast speed as well.
The steps you need to follow for installing a second storage device on your laptop
Spending hundreds or thousands of dollars to upgrade your laptop for this feature is not the best choice. So, if your old laptop is still working great and has a DVD writer that you no longer need to use, you can also add a second drive to your laptop. All you need to do is to follow these steps. However, before you start the process, it is better to check online if your computer supports doing so.
Step 1: Preparing the laptop.
So, things will start with you preparing the laptop for the process. To make sure that your laptop is ready for the upgrade, you need to shut it down. Once the laptop is completely shut down, you can remove the power cable and move to the next step.
Step 2: Opening the laptop to remove the battery.
Moving to the next step, the first thing that you may need is a tool kit. The number of tools and their type differentiates according to your laptop.
- Once you have all the necessary tools, you can remove all the screws first and then remove the laptop’s cover.
- If you have a laptop with an external battery, you can remove it and move to the next step.
Otherwise, you will have to open the laptop for safety reasons. If you find it difficult to open the laptop, you can also get some disassembly help online. When you have a laptop with its lid open, you will need to remove the battery connection.
Step 3: Removing the DVD writer.
If opening the laptop had the removal of the DVD writer, then move to the next step. However, as different models of laptops are different in terms of internals, if the DVD writer is still there, you need to remove it.
Step 4: Preparing the new SSD or HDD.
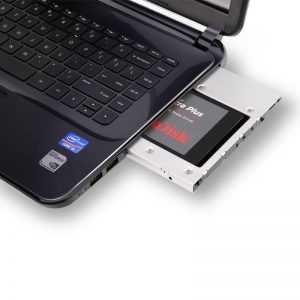
With your DVD writer out of the laptop, it is time to prepare the SSD or HDD for installing in your laptop. Here it would help if you had the laptop 9.5 mm slim second hard disk caddy. It is a product that makes it possible to insert a second hard drive into your laptop by replacing the DVD writer. You may find some screws, so you need to ensure that your new SSD or HDD is secure in the caddy.
Step 5: Installing the new SSD or HDD.
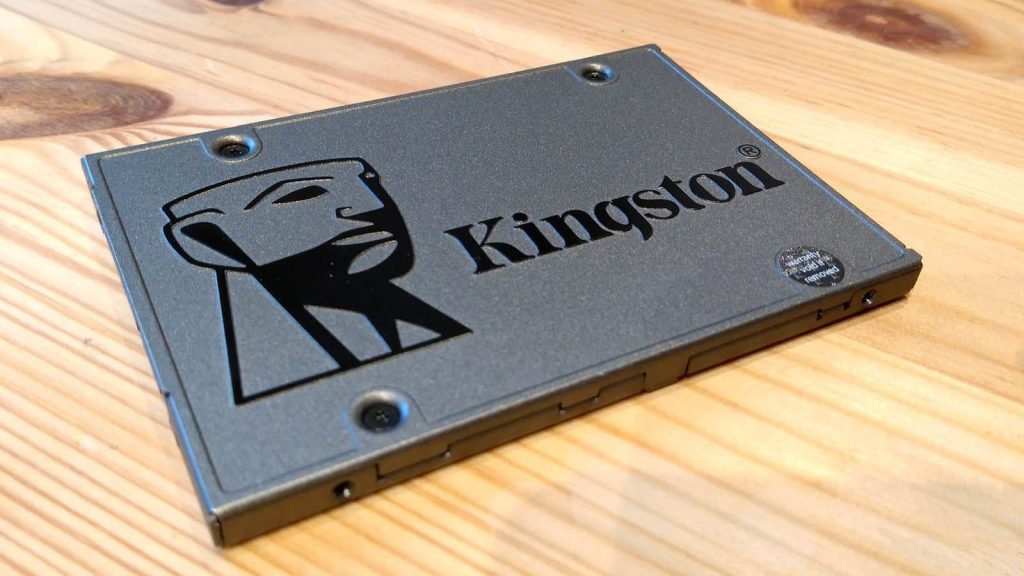
Just like you removed the DVD writer, you need to install the caddy with SSD or HDD installed in it. The process will be the same but in the opposite direction. If you are looking for extreme performance, then going with Kingston SATA SSD A400 will be the best choice as it comes with 10x faster speed, so you can buy it to increase the performance of your laptop.
NOTE:
if the DVD writer was not removed at the end, then it is not time yet to install it back. You need to follow the whole opening process in the opposite direction.
Step 6: Closing the laptop.
Now you will move towards closing the laptop. Do everything from the opening process but in the opposite direction. Putting the screws back, and you will be done with closing the laptop.
Step 7: Making the New SSD or HDD good for the intended usage.
With your laptop closed, you can power it on and see if the computer is reading the SSD or HDD or not. While you are adding a second drive to your laptop, it will always be a good choice to use the Transcend SATA SSD because of its budget price and ultimate reliability and performance.
- If the laptop reads the drive, then you need to prepare it for the intended usage.
- If you only want additional space, then all you need to do is to create some partitions.
- However, if you want to make your laptop faster, you may need to install your operating system in the SSD.
For this, make sure that you create a secure backup for all your files. Once you are done with this step, there is nothing left to do.
Final Recommendation to look at:
With these simple steps, you can easily add a second hard drive to your old laptop. However, if you are unable to get things done at your home by yourself, there is no need to worry. Our professionals will deal with all your issues.
You can also get this upgrade for your laptop from our technicians in our store with the on-site services. So, if you think that the job needs a professional touch, we are only a call away in Sri Lanka. We will give you excellent results. We make sure we communicate with you so that you gave a good experience using your systems.