Reliable server rack mounting begins with parts that fit the cabinet, support the equipment and let technicians service it safely. A mounting profile positions a power distribution unit, a cage nut secures a compatible rack screw, and a joining bracket can connect cabinets where the rack design allows it. Each part serves a different purpose, so check the cabinet drawing and the equipment instructions before selecting hardware. This guide explains what to assess when comparing server rack mounting hardware prices in Sri Lanka.
Richcom’s current category includes mounting profiles for different rack heights and orientations, along with cage nuts, screws, washers and joining brackets. We highlight three examples below to explain how product formats differ. Model descriptions are useful starting points; verify the exact dimensions, quantities and supplied fixings against the product listing and cabinet documentation before ordering.
What counts as server rack mounting hardware?
Mounting hardware covers the mechanical items that position, attach or support equipment and accessories in a cabinet. Vertical rails and profiles establish attachment points along the rack height. Horizontal supports can provide a mounting location across the cabinet width or depth, depending on the intended design. Cage nuts and screws attach equipment to square-hole rack posts, while washers can be part of a compatible fixing set. Joining brackets are intended to connect rack frames when the cabinets and installation plan support that arrangement.
These components are not interchangeable simply because they are made for a nominal 19-inch system. The hole pattern, thread, profile position, rack height, cabinet depth and intended load can all affect fit. In addition, a PDU support profile is not a general-purpose shelf or a structural substitute for a rack rail. Use each part only for the role specified by its manufacturer.
Check rack dimensions, mounting pattern and clearances
Start with the cabinet’s model and installation drawing. Confirm whether the mounting points use square holes, threaded holes or another pattern, and identify the required cage-nut thread and screw length. Measure usable rack units and confirm whether a profile is meant to occupy a specific position. The number printed in a model name may describe rack height or length, but it does not guarantee that the part fits every enclosure of that size.
For 19-inch equipment, IEC 60297-3-100 defines basic dimensions for the 482.6 mm series, including front panels, subracks, chassis, racks and cabinets. Refer to the official IEC 60297-3-100 publication page for the standard’s scope. A standards reference does not certify that a particular accessory matches a particular rack, so confirm the specific interface and installation instructions with the manufacturers.
Check service clearances before you mount anything. Rails and profiles should not block door movement, airflow paths, cable entry, side panels or access to equipment handles. Look at the front and rear of the cabinet and account for power leads, network cables and maintenance space. A design that fits on paper may still make routine replacement or inspection difficult.
Choose the correct support for the accessory
Decide first what the hardware must hold. A vertical PDU mounting profile has a different function from a horizontal support profile, and both differ from rails that carry equipment. Verify the intended accessory, mounting orientation and locations. For heavier devices, check the manufacturer’s load requirements and the rack’s capacity; do not estimate capacity from appearance alone. If the documentation does not identify a load rating or compatible frame, ask the supplier or cabinet manufacturer before installation.
Also review whether the selected design provides one or two attachment points, how it fastens to the cabinet, and what additional screws or brackets are required. Avoid mixing fasteners with different thread forms. Confirm the number of components supplied in the package rather than assuming that a set includes every fixing needed for a complete installation.
Three rack mounting hardware examples
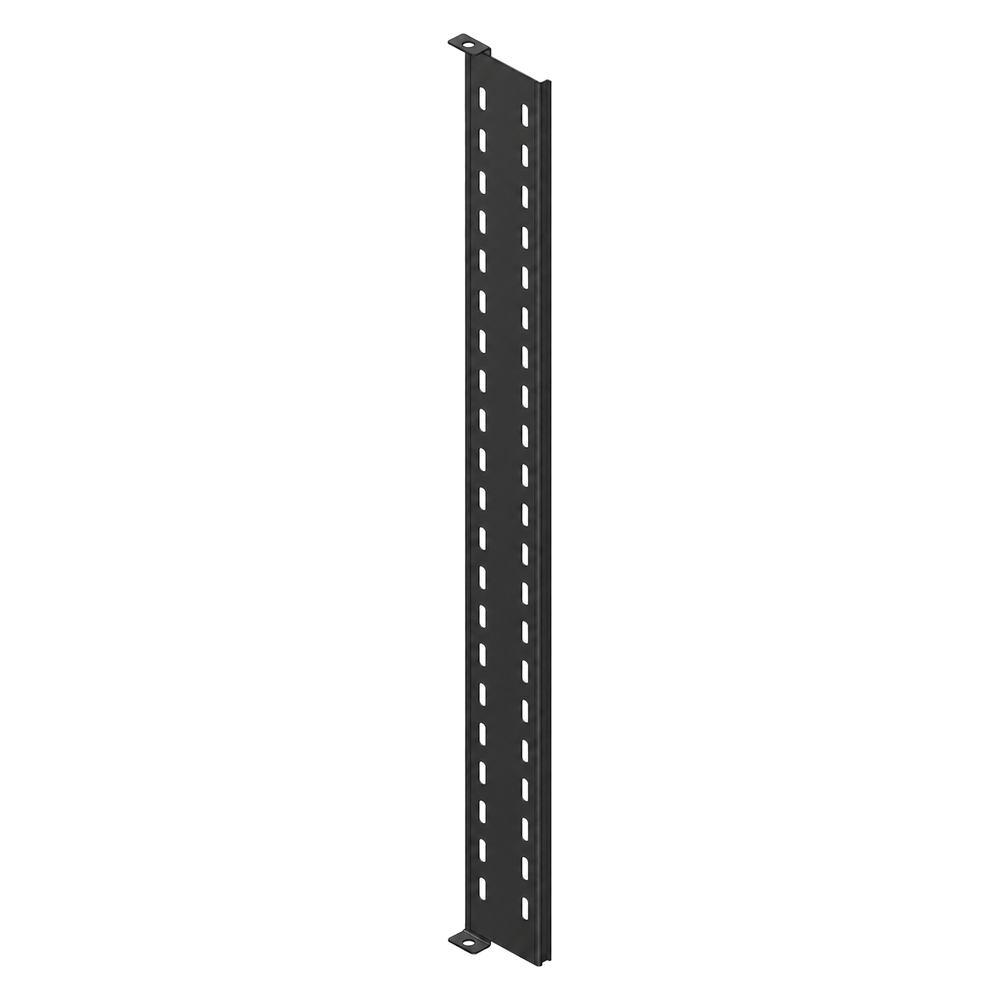
TIMIK (Canada) 19″ DATCET Server Rack PDU Mounting Profile Dual 50U – 19A DCPDUMD50
This dual mounting profile is listed for a 50U rack and for PDU mounting. It may be relevant when planning a vertical PDU position in a compatible cabinet. Confirm which rack series the DATCET designation refers to, the profile dimensions, mounting points and the exact PDU arrangement. Check the product documentation to see whether the required screws or brackets are included and whether the cabinet must have a particular frame configuration. Do not assume that the dual profile is suitable for every PDU or every 50U rack just from the name.
TIMIK (Canada) Cage Nuts M6 – 19A CN
The M6 cage nut is a fixing option for rack posts designed for that thread and hole format. Before selecting it, inspect the cabinet post and confirm its hole shape, material thickness and thread requirement. Match the screw length to the equipment ear, washer and rack post while leaving enough engagement without allowing the screw to bottom out or protrude into equipment. Confirm pack quantity and any compatibility notes on the current product page, especially if a project requires a complete set for multiple devices.
TIMIK (Canada) FS Rack PDU Mounting support profile Horizontal 1200mm – 19A PDUMH12
This FS rack PDU mounting support profile is listed in a horizontal 1200 mm format. Compare that length with the intended support points and the cabinet’s internal dimensions. Verify its orientation and role with the product documentation before use, as a horizontal support is not automatically a vertical PDU mount. Check for conflicts with cable bundles, rear doors and neighbouring equipment, and plan how the PDU will be accessed after installation.
Plan a safe installation and cable route
Prepare the installation before removing equipment or loading a profile. Follow the rack and accessory instructions, use the specified fasteners, and ensure the cabinet is stable. Where a rack is heavily loaded or wall-mounted, review the cabinet anchoring and load guidance with a qualified installer. Do not attach unapproved hardware to a rack frame or modify a profile to make it fit.
For PDU placement, confirm that power cables can reach their outlets without crossing service paths or being pinched by doors. Keep data and power cabling organised according to the site’s practice and manufacturer guidance. Make sure technicians can operate switches and disconnect equipment without reaching around sharp edges or disturbing adjacent connections. After installation, check that fixings remain secure and that airflow and access are not obstructed.
Common selection mistakes to avoid
A common error is matching only the rack height. A 42U, 45U or 50U label does not tell you the post pattern, usable depth or position of the profile. Another is choosing a cage nut by thread alone without checking the cabinet’s hole shape and material thickness. Buyers may also confuse a PDU support with a general equipment rail, or assume a mounting profile includes all the fixings for a complete setup. Verify these details in the manufacturer’s documentation and on the current listing.
Avoid ordering from an old parts list without checking the cabinet revision. Rack accessories can vary between product families even when the nominal size is similar. Take photographs of the post, record the cabinet model, mark the intended mounting position and compare those details with the supplier before ordering. This small check can prevent incompatible hardware from delaying installation.
Rack mounting hardware checklist
- Record the cabinet manufacturer, model and usable rack height.
- Identify the post hole pattern and required thread type.
- Confirm the profile’s purpose, orientation, length and mounting points.
- Check rack depth, door clearance, airflow and cable access.
- Verify the supported load and the hardware supplied in each package.
- Use the manufacturer’s installation procedure and specified fasteners.
- Recheck access and fixings after installation and during maintenance.
Frequently asked questions
Can an M6 cage nut fit every server rack?
No. The rack post must use a compatible hole pattern and accept the cage nut’s dimensions. Confirm the cabinet documentation and product details before ordering.
Does a PDU mounting profile support every power distribution unit?
No. Verify the PDU mounting method, profile dimensions, rack position and required brackets with the PDU and cabinet manufacturers.
Should I select a profile using rack height alone?
No. Rack height is only one specification. Confirm the cabinet series, mounting points, orientation, depth and clearance requirements as well.
Compare current options before ordering
Choose rack mounting hardware by matching the exact cabinet, attachment pattern and intended equipment. The category currently lists a range of PDU profiles, cage nuts, screws, washers and rack brackets. Review the latest product details and confirm compatibility with Richcom before placing an order, especially for multi-rack installations or equipment that must be supported under a specified load.
Complete your rack installation
Network and Server Racks · Rack Power Distribution Units · Rack Shelves and Equipment Supports · Rack Cable Management · Rackmount Online UPS Systems
Check cabinet depth, mounting, equipment load and electrical connections for each component.