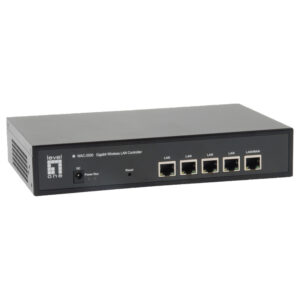
Comparing Video Extender prices in Sri Lanka starts with the signal you need to send and the cable route you can install. A meeting room, classroom or shop display may place the screen far from its source. However, buying an extender by distance alone can leave you with a blank picture, the wrong connector or a receiver that needs a separate transmitter.
This guide explains how to choose a suitable system without relying on changing price figures. First, identify the source and display ports. Then record the required resolution, refresh rate and cable length. Finally, compare three ATEN options with your installation needs. The goal is a dependable picture and a system that staff can operate easily.
Compare video extender interfaces and distance
HDMI, VGA and DVI are different interfaces. Therefore, start by checking the actual sockets on both devices. A laptop may use HDMI while an older projector accepts VGA. An extender does not automatically convert between them. If conversion is necessary, confirm that the complete chain supports the required direction, resolution and audio path.
Next, measure the installed route rather than the straight-line distance across the room. Include wall climbs, ceiling runs and the short leads at each end. Also allow access for future service. A nominal cable distance describes a specified signal under stated conditions; it does not guarantee every format at that distance.
For example, a unit may support a longer Full HD run than a 4K run. Similarly, the label 4K does not specify the refresh rate or colour sampling. Check the detailed timing before buying. This matters for fine text, design work and video playback, where the same screen resolution can place different demands on the link.
ATEN (Taiwan) HDMI Cat 5 Extender (1080p@40m) – VE800A (3Y)
The VE800A is a practical starting point for a Full HD HDMI installation. Its Richcom listing identifies the 1080p at 40 m use case. Therefore, consider it when the room uses that signal and does not need a higher-resolution upgrade immediately. Check the full cable and timing requirements before planning a longer route.
A typical application is a presentation computer connected to a distant classroom projector. In that situation, dependable operation may matter more than unused resolution capability. However, confirm the projector input and test the laptop’s output mode first. Also check any audio requirements and power arrangements at both ends before approving the installation.
Do not choose this model solely because an existing cable carries the Cat 5 label. Inspect the cable condition and termination quality as well. If the route includes patch panels or couplers, review their effect with the installer. A suitable new cable run can be more useful than trying to rescue an unknown link.
ATEN (Taiwan) 4K HDMI Cat 6 Extender – VE1821 (3Y)
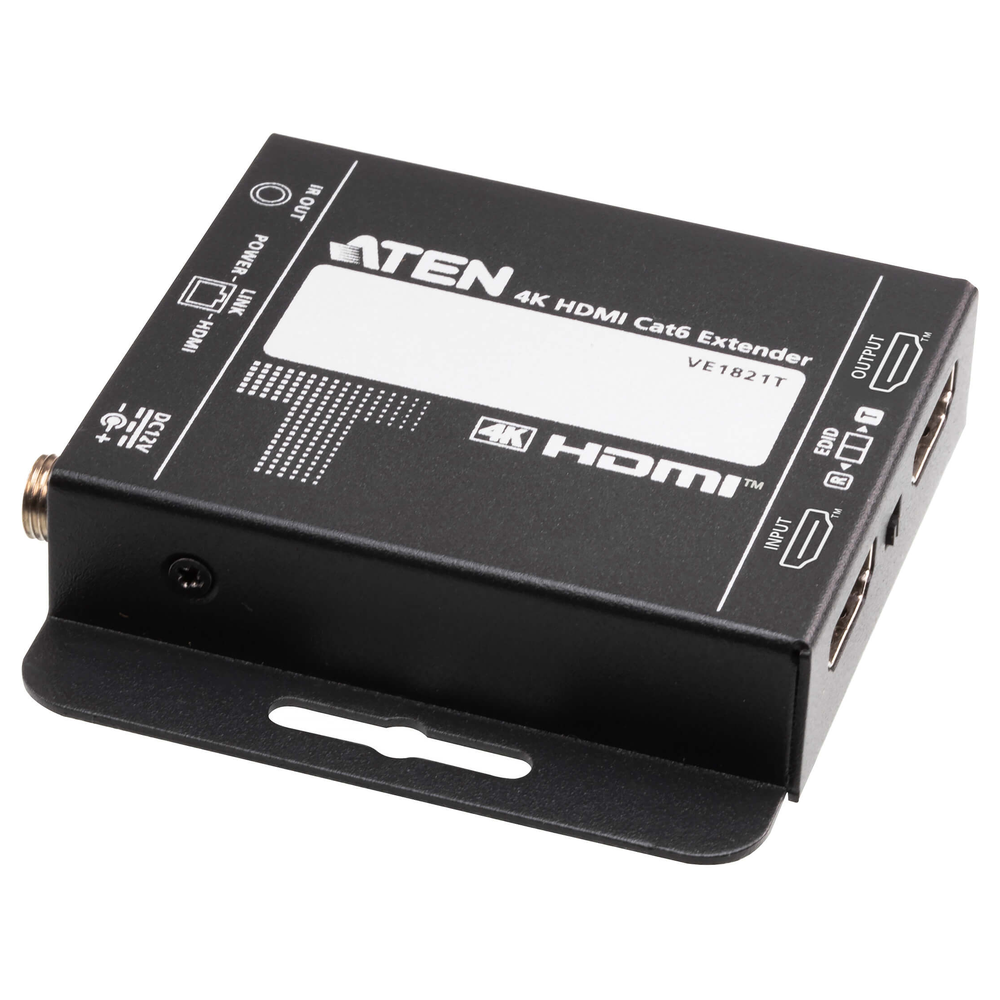
The VE1821 provides a compact HDMI extension option for a higher-resolution room. ATEN documents 4K at 30 Hz with 4:4:4 colour sampling, reaching 40 m over suitable Cat 6 cable. However, the manufacturer gives a shorter 4K distance for Cat 5e. Use the stated cable conditions when comparing this model with your route.
Its local HDMI output can help when the presenter needs a nearby monitoring screen. In addition, its EDID selection lets the installation use information from the local or remote display. These features are useful when a source must negotiate a workable picture format. They do not remove the need to check both displays.
The receiver obtains power from the transmitter through the supported cable link. Consequently, plan the transmitter’s power position carefully. This power arrangement is not ordinary network PoE. Also keep the extender connection separate from a general network switch unless the manufacturer explicitly permits that connection. Check the installed wiring before powering the equipment.
ATEN (Taiwan) HDMI HDBaseT Extender (4K@100m) (HDBaseT Class A) – VE811 (3Y)
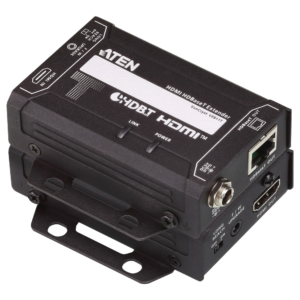
The VE811 is the longer-route option in this comparison. Richcom identifies it as a 4K at 100 m HDBaseT Class A extender. Therefore, it deserves consideration when a short-room extender cannot cover the planned route. Confirm the exact supported video timing, cable grade and installation conditions before specifying it for a project.
For example, a source cabinet may sit well away from a display in a large training area. A longer supported link can simplify that layout. However, HDBaseT does not mean every receiver with an RJ45 socket will work. Match the transmitter and receiver using their documented compatibility, rather than assuming that similar connectors imply interoperability.
Consider this model for its route capability, rather than calling it the best choice for every room. A shorter installation may suit another option perfectly well. Conversely, a demanding project may need features beyond these three examples. Write down those requirements first so that the comparison remains tied to the actual task.
Check video extender compatibility across the system
A working video link depends on more than the extender pair. Check the source, display, short video leads and installed cable together. Also consider content protection when the source plays protected material. An otherwise suitable link can fail if one component does not support the protection or signal format that the source requires.
EDID describes the display capabilities to the source. Therefore, unexpected picture settings may reflect a negotiation problem rather than a faulty screen. If a local monitor and remote display differ, choose a format that the required displays can handle. Record the final working settings so that staff can restore them after a laptop change.
Receiver-only listings require special care. For instance, the category contains separate VGA receivers and a receiver with a scaler. These are not automatically complete extension kits. Before ordering, ask which transmitter is required, whether it is already installed and which accessories the supplied package contains. This avoids buying a component that cannot operate alone.
Plan installation and test before concealment
First, place the equipment on a bench and test the intended source and display with short known-good leads. Then connect the installed cable and repeat the test at the intended resolution. Check picture stability, audio and any required control functions. Finally, test the normal shutdown and restart sequence that staff will use each day.
Label both cable ends and identify transmitter and receiver locations. In addition, leave enough space to reach the connectors and power supplies. Keep equipment within its stated environmental limits and avoid cramped, hot cabinets. An installation that is easy to inspect is also easier to repair when a connector becomes loose later.
Use the manufacturer’s instructions for cable type, termination and supported link layout. For a concrete example, consult ATEN’s official VE1821 installation guide. It provides a primary reference for that model’s connections. Apply the instructions for the actual model you buy instead of treating one diagram as universal.
Common mistakes when comparing Video Extender prices in Sri Lanka
The first mistake is treating all Cat cable products as network devices. A matching socket does not establish Ethernet compatibility. Another mistake is using the maximum distance without checking the associated resolution. Also avoid assuming that a receiver includes its transmitter. Read the package list and confirm the parts you need before placing an order.
Similarly, do not add a chain of converters simply to make the plugs fit. Each additional component introduces another compatibility check and another point to troubleshoot. Where possible, use a system that matches the source and display directly. If adaptation is unavoidable, test that complete arrangement before the equipment goes into daily service.
Maintain the link and choose for future use
Keep a simple record of the extender model, cable route, source settings and display input. Then check those details before replacing equipment. For example, a new laptop may select a different refresh rate automatically. Restoring a documented supported mode can resolve that change without replacing the existing extender or disturbing the cable run.
Periodically inspect accessible connectors and power leads, and keep ventilation clear. If a fault appears, start with a known-good short video lead and the documented signal mode. Next, isolate the source, display and cable one at a time. This orderly process helps identify the cause instead of changing several components at once.
Finally, balance today’s needs with a realistic upgrade plan. Comparing Video Extender prices in Sri Lanka is useful only after you know the required interface, timing and distance. Check the current listing for warranty and package details, then confirm suitability for your exact installation. A clear specification makes both purchasing and future support easier.