Server rack cable management keeps power, network and storage cabling organised so equipment can be identified, serviced and expanded with less disruption. A well-planned layout also helps teams preserve ventilation paths and avoid strain on connectors. This guide to server rack cable management explains how to select managers for rack type, cable volume and installation style in Sri Lanka.
Begin with a cable inventory. Separate power cords from copper Ethernet, fibre and console leads, then estimate the number of runs entering each cabinet. The goal is a layout that supports service work while keeping cable bends within the cable maker’s guidance. For wider industry context, BICSI maintains standards and resources for information and communications technology systems: BICSI standards and best-practice resources.
Choose the right type of rack cable manager
Horizontal cable managers sit across the rack, usually in a 1U or 2U space. They suit patching between nearby switches, patch panels and servers. D-rings offer quick access to small bundles, while covered troughs can provide a more contained route. Check whether the cover can be removed without disconnecting neighbouring equipment.
Vertical managers run beside the rack rails. They help route bundles between equipment rows and can preserve rack units that a horizontal manager would occupy. Box-style products can be useful when a cabinet’s width and mounting arrangement match the accessory. Some installations use both styles: vertical pathways for long runs and short horizontal managers for device-level patching.
Cable trays and ladders serve different needs from rack-mounted guides. They carry a larger bundle between cabinets or above rows. Plan the route, support points and separation from electrical services with the site installer. Avoid using a small rack accessory as a substitute for a correctly rated building cable pathway.
Measure the rack before choosing an accessory
Confirm the rack type first: four-post cabinet, two-post frame or wall-mounted enclosure. Then verify its usable height, width, rail spacing, depth and available side clearance. A product intended for a W800 cabinet may not fit another width. A component made for a two-post rack may have different fixing points from a box designed for an enclosed cabinet.
Measure the intended path, not only the overall cabinet. Check clearances at the doors, hinges, side panels and equipment handles. Leave room for patch cords to bend naturally and for technicians to remove devices. If a manager will be installed beside a rail, compare its dimensions with the rack layout and confirm that cables will not be trapped when the side panel is closed.
Plan for airflow, access and future changes
Dense bundles can obstruct front-to-back airflow or cover fan grilles. Keep cable routes away from ventilation openings and avoid packing the rear of the rack so tightly that equipment cannot exhaust warm air. Separate power and data cabling according to the equipment and site design. Where both cable types share a pathway, follow the applicable electrical and structured-cabling guidance.
Make the layout easy to maintain. Label cables at both ends with a consistent scheme. Group runs by destination or service and document changes after moves, adds and replacements. Use hook-and-loop ties where appropriate, and tighten them only enough to hold the bundle. Avoid crushing cables or placing weight on connectors. Leave a practical service loop without creating large coils that block access.
Three cable management options to compare
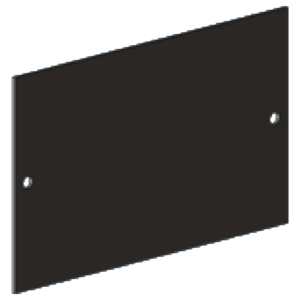
TIMIK (Canada) 19″ Horizontal Cable Manager with Steel D Rings 1U – 19A 19HCMD1U
This horizontal 1U option uses steel D-rings to guide a smaller bundle across the rack. It can suit an installation where technicians need to see and reach patch leads quickly. Confirm the rail position, usable rack unit and cable quantity before choosing it. Measure the cable bundle at its widest point so the rings are not overloaded and patch leads retain a comfortable bend.
TIMIK (Canada) Vertical Cable Management Box type for Two Post Racks 18U – 19A VCMTP18U
The listed configuration is an 18U vertical cable management box for two-post racks, with a stated material thickness of 1.2 mm. Its intended rack format makes fit verification especially important. Check the manufacturer or seller’s mounting details, rack width and fastening points before ordering. This style may be useful for organising vertical runs along a compatible two-post frame.
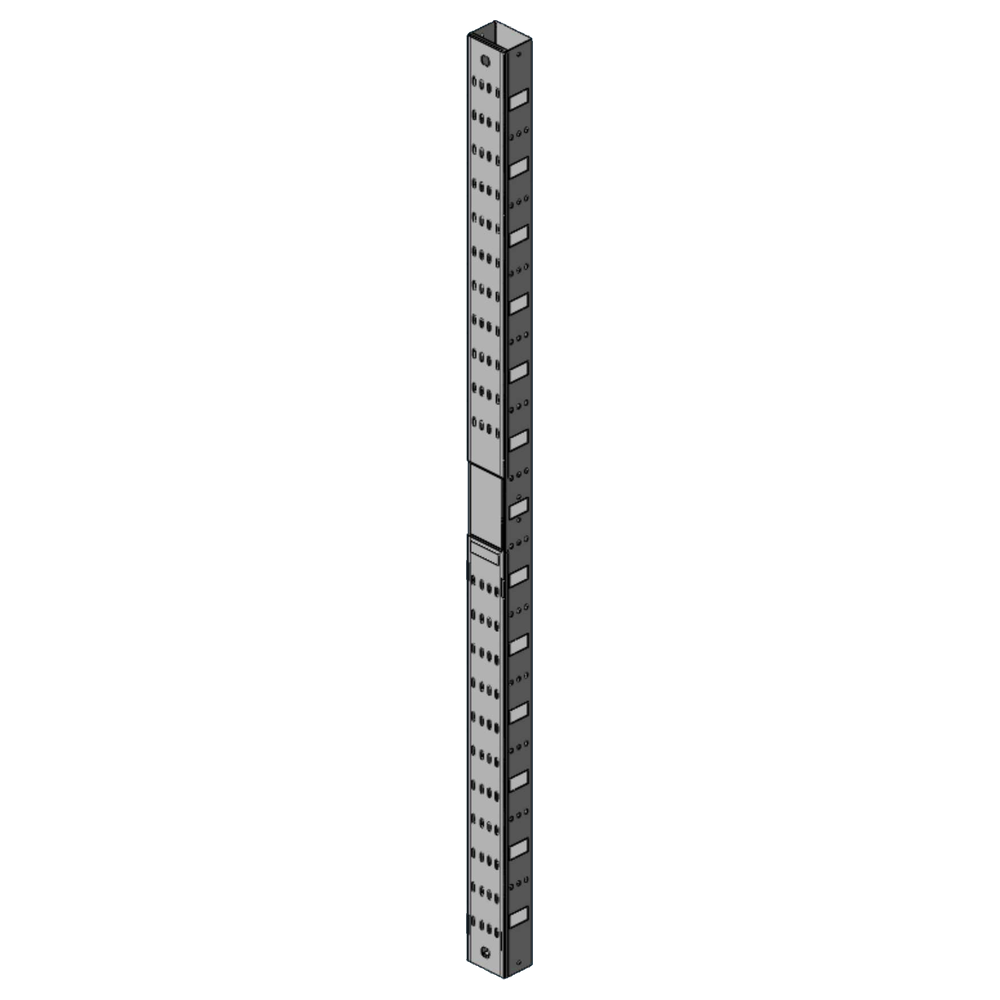
TIMIK (Canada) Vertical Cable Management Box type for W800 Racks 50U – 19A VCMB50U
This 50U box-type vertical manager is listed for W800 racks and has a stated thickness of 1.2 mm. Consider it when the cabinet dimensions and cable entry points align with the product. Confirm height, width, mounting hardware and door clearance with Richcom before purchase. The model designation alone is not enough to confirm compatibility with a different rack series.
Installation checklist for server rack cable management
- Record the rack manufacturer, type, width and usable height.
- Count and classify power, copper, fibre and console runs.
- Map the route from patch panels and switches to connected equipment.
- Check bends, door clearance, side-panel fit and ventilation openings.
- Confirm fixing points and hardware for the exact rack model.
- Use suitable supports and ties without compressing cable jackets.
- Label both ends and update the rack diagram after each change.
- Have the installer verify pathways and separation against local requirements.
Common mistakes to avoid
Buying by rack height alone can lead to a manager that does not align with the rails. Likewise, assuming every 19-inch rack has the same side clearance can create a clash with doors or equipment. Verify the complete cabinet drawing and the accessory mounting scheme.
Overfilling a small manager makes it harder to trace connections and may strain patch leads. Mixing unlabeled cables also increases the time required to troubleshoot a fault. Plan a little capacity for future moves, but do not bundle every spare lead into a dense coil. Keep unused cables labelled and stored in a controlled way.
Another frequent issue is routing that blocks airflow or prevents equipment removal. Before fastening the bundle, check the path with front and rear doors closed. Confirm that a device can still slide out and that serviceable power supplies, fans and connectors remain accessible.
How often should rack cabling be reviewed?
Review cable routes during planned maintenance and after any equipment move, add or replacement. Check that labels still match the documentation and that ties have not become too tight. Look for cables resting on sharp edges, pinched by panels or blocking ventilation. A short, documented review can prevent small layout issues from becoming difficult service problems.
Compare current server rack cable management products
Start with the rack measurements and cable route, then compare compatible managers in the server rack cable management prices in Sri Lanka. Product configurations and availability can change. Confirm the current model code, dimensions, mounting method and included hardware with Richcom before ordering.
A tidy cabinet is easier to support when each cable has a clear path, label and service purpose. Choose accessories to match the rack and installation, preserve airflow and leave technicians enough access to maintain the equipment safely.